
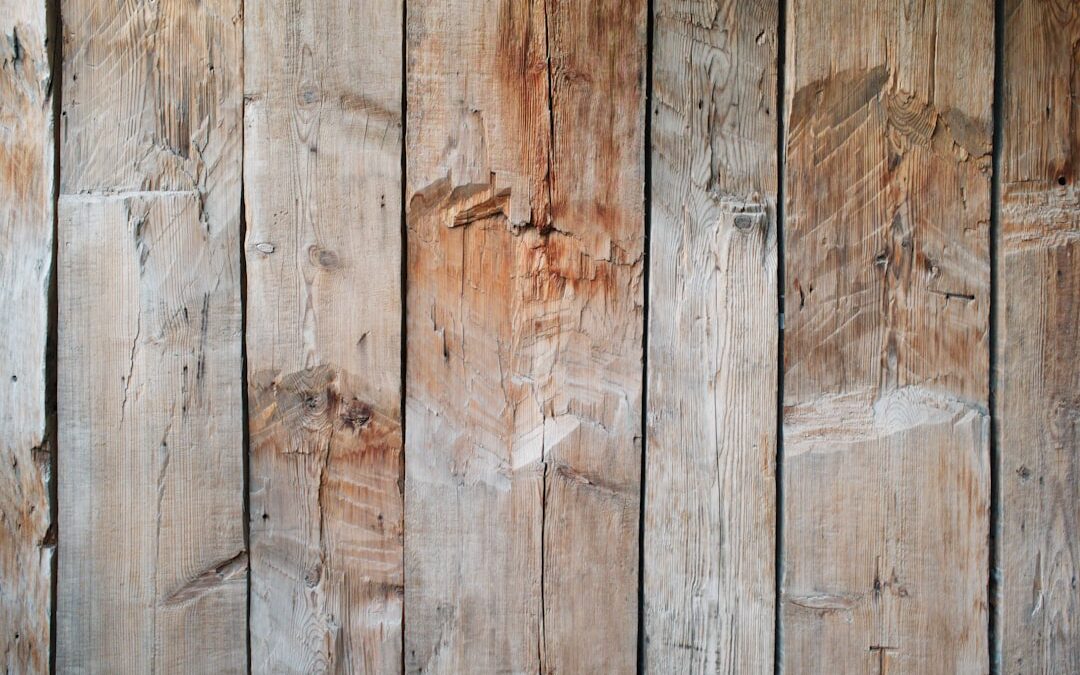
Rustic woodworking is a timeless and charming way to create beautiful and functional pieces for your home. The beauty of imperfection in rustic woodworking lies in the unique characteristics of natural wood. Each piece tells a story, with knots, cracks, and variations in color and grain adding to its charm. Embracing the rustic aesthetic allows you to create one-of-a-kind pieces that bring warmth and character to any space.
Natural wood is the star of the show in rustic woodworking. Its unique characteristics, such as knots, grain patterns, and variations in color, add depth and interest to each piece. Unlike mass-produced furniture, rustic woodworking celebrates the individuality of each piece of wood. Whether it’s reclaimed barn wood or a freshly cut log, the natural beauty of the wood shines through in rustic projects.
Key Takeaways
- Rustic woodworking embraces imperfection and natural beauty
- Essential tools for rustic woodworking include a saw, drill, sander, and wood glue
- Building a rustic coffee table involves cutting and assembling wood pieces, sanding, and staining
- A DIY rustic wine rack can be made with a few pieces of wood and a drill
- Crafting a wooden beer caddy involves measuring and cutting wood pieces, sanding, and adding a handle
Essential Tools and Materials for Rustic Woodworking
To get started with rustic woodworking, you’ll need a few basic tools. These include a saw (such as a circular saw or miter saw), a drill, a sander, clamps, and measuring tools. These tools will allow you to measure, cut, assemble, and finish your rustic projects.
When it comes to choosing wood for rustic projects, there are several options to consider. Reclaimed wood is a popular choice for its weathered and aged appearance. It adds instant character to any project. If you don’t have access to reclaimed wood, you can also use new wood that has been distressed or stained to achieve a rustic look. Some popular types of wood for rustic projects include pine, cedar, and oak.
In addition to wood, there are other materials you can use to enhance the rustic look of your projects. Metal accents such as nails, screws, and brackets can add an industrial touch. Rope or leather handles can give your pieces a rustic and natural feel. Don’t be afraid to get creative and experiment with different materials to achieve the rustic aesthetic you desire.
Building a Rustic Coffee Table: Step-by-Step Guide
A rustic coffee table is a perfect addition to any living room. To build one, start by choosing the right design for your space. Consider the size, shape, and style that will best complement your existing furniture. Once you have a design in mind, measure and cut the wood according to your specifications. Use a saw to make clean and precise cuts.
After cutting the wood, it’s time to assemble the table. Use clamps to hold the pieces together while you drill pilot holes and secure them with screws. Once the table is assembled, sand the surface to smooth out any rough edges or imperfections. This will give your coffee table a polished and finished look.
To enhance the rustic aesthetic of your coffee table, consider adding some finishing touches. You can stain or paint the wood to achieve the desired color and look. You can also distress the wood by using sandpaper or a wire brush to create a weathered appearance. Finally, add any additional accents such as metal brackets or decorative nails to complete the rustic look.
DIY Rustic Wine Rack: A Perfect Gift for Wine Lovers
| DIY Rustic Wine Rack: A Perfect Gift for Wine Lovers |
|---|
| Materials Needed: |
| – Wood boards |
| – Wood glue |
| – Screws |
| – Sandpaper |
| – Stain or paint |
| Difficulty Level: |
| Intermediate |
| Time Required: |
| 2-3 hours |
| Dimensions: |
| – Height: 24 inches |
| – Width: 16 inches |
| – Depth: 6 inches |
| Number of Bottles: |
| 6 |
| Cost: |
| 20-30 |
A rustic wine rack is not only a functional piece but also a beautiful display for your wine collection. To design your own wine rack, start by considering the style and size that will best fit your space. You can choose a simple design with horizontal slots for holding the bottles or get creative with a more intricate pattern.
Once you have a design in mind, it’s time to cut and sand the wood. Measure and mark where each slot will be and use a saw to make clean cuts. Sand the edges and surfaces of the wood to ensure a smooth finish.
After cutting and sanding, it’s time to add the finishing touches to your wine rack. You can stain or paint the wood to match your existing decor or leave it natural for a more rustic look. Consider adding a clear coat of varnish or wax to protect the wood and give it a polished appearance.
Once your wine rack is complete, it’s time to display your wine collection. Arrange the bottles in the slots, making sure they are secure and stable. Your rustic wine rack will not only keep your wine organized but also add a touch of charm to your home.
Crafting a Rustic Wooden Beer Caddy: Ideal for Outdoor Adventures
A rustic wooden beer caddy is a perfect accessory for outdoor adventures or backyard gatherings. To create your own beer caddy, start by choosing the right wood and design. Consider the size and shape that will best fit your needs. You can opt for a simple design with a handle and slots for holding the bottles or get creative with compartments for snacks or bottle openers.
Once you have a design in mind, it’s time to cut and sand the wood. Measure and mark where each piece will be and use a saw to make clean cuts. Sand the edges and surfaces of the wood to ensure a smooth finish.
After cutting and sanding, consider adding a bottle opener to your beer caddy. You can attach it to one of the sides or incorporate it into the handle. This will make it convenient for opening bottles on the go.
To enhance the rustic look of your beer caddy, consider staining or painting the wood. You can also distress the wood by using sandpaper or a wire brush to create a weathered appearance. Finally, add any additional accents such as metal brackets or decorative nails to complete the rustic look.
Rustic Wooden Wall Art: Adding a Touch of Nature to Your Home Decor
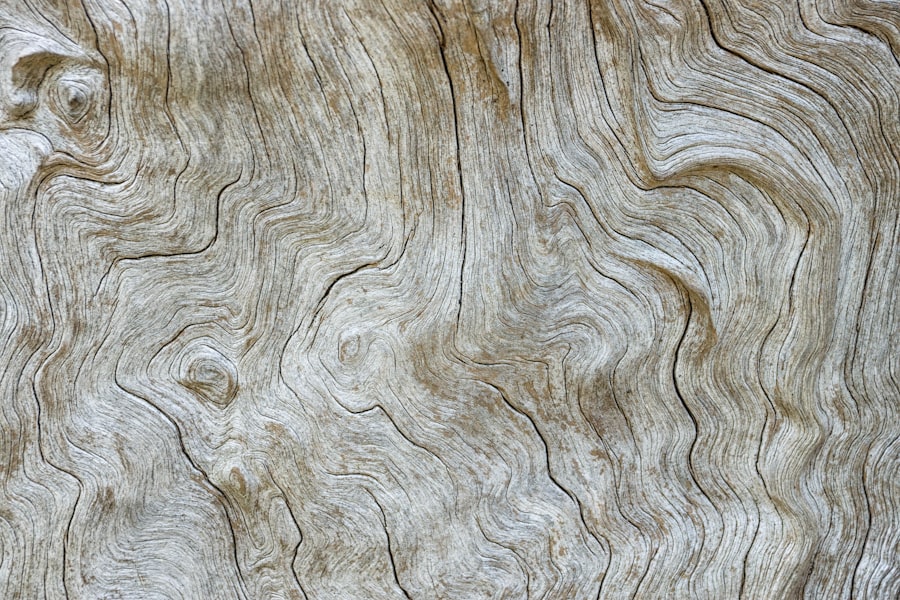
Rustic wooden wall art is a great way to bring nature indoors and add a touch of warmth to your home decor. To create your own wall art, start by choosing a design that fits your style. You can opt for a simple design such as a tree or a mountain, or get creative with more intricate patterns.
Once you have a design in mind, it’s time to cut and sand the wood. Measure and mark where each piece will be and use a saw to make clean cuts. Sand the edges and surfaces of the wood to ensure a smooth finish.
After cutting and sanding, you can add paint or stain to your wall art to achieve the desired color and look. Consider using earth tones or muted colors to enhance the rustic feel. You can also distress the wood by using sandpaper or a wire brush to create a weathered appearance.
Once your wall art is complete, it’s time to hang it on the wall. Use picture hanging hardware or adhesive strips to securely attach it to the wall. Your rustic wooden wall art will add a touch of nature and personality to any room in your home.
Making a Rustic Wooden Serving Tray: Perfect for Entertaining Guests
A rustic wooden serving tray is not only practical but also adds a touch of charm to your entertaining space. To create your own serving tray, start by choosing the right wood and design. Consider the size and shape that will best fit your needs. You can opt for a simple rectangular design or get creative with handles and compartments for holding utensils or condiments.
Once you have a design in mind, it’s time to cut and sand the wood. Measure and mark where each piece will be and use a saw to make clean cuts. Sand the edges and surfaces of the wood to ensure a smooth finish.
After cutting and sanding, consider adding handles to your serving tray. You can attach them to the sides or incorporate them into the design. This will make it easy to carry and serve food and drinks.
To enhance the rustic look of your serving tray, consider staining or painting the wood. You can also distress the wood by using sandpaper or a wire brush to create a weathered appearance. Finally, add any additional accents such as metal brackets or decorative nails to complete the rustic look.
Rustic Wooden Coasters: Protecting Your Furniture in Style
Rustic wooden coasters are not only functional but also add a touch of style to your home decor. To create your own coasters, start by choosing the right wood and design. Consider the size and shape that will best fit your needs. You can opt for a simple square or round design or get creative with more intricate patterns.
Once you have a design in mind, it’s time to cut and sand the wood. Measure and mark where each coaster will be and use a saw to make clean cuts. Sand the edges and surfaces of the wood to ensure a smooth finish.
After cutting and sanding, consider adding a protective finish to your coasters. You can use a clear coat of varnish or wax to protect the wood from moisture and stains. This will also give your coasters a polished and finished look.
To display your coasters, consider using a rustic wooden holder or stacking them neatly on a coffee table or side table. Your rustic wooden coasters will not only protect your furniture but also add a touch of charm to your home.
Creating a Rustic Wooden Headboard: Adding a Cozy Feel to Your Bedroom
A rustic wooden headboard is a perfect addition to any bedroom, adding warmth and coziness to the space. To create your own headboard, start by choosing the right wood and design. Consider the size and shape that will best fit your bed and room. You can opt for a simple rectangular design or get creative with curves or cutouts.
Once you have a design in mind, it’s time to cut and sand the wood. Measure and mark where each piece will be and use a saw to make clean cuts. Sand the edges and surfaces of the wood to ensure a smooth finish.
After cutting and sanding, it’s time to assemble the headboard. Use clamps to hold the pieces together while you drill pilot holes and secure them with screws. Once the headboard is assembled, sand the surface to smooth out any rough edges or imperfections.
To enhance the rustic aesthetic of your headboard, consider adding some finishing touches. You can stain or paint the wood to achieve the desired color and look. You can also distress the wood by using sandpaper or a wire brush to create a weathered appearance. Finally, add any additional accents such as metal brackets or decorative nails to complete the rustic look.
Embracing the Beauty of Imperfection in Rustic Woodworking
In conclusion, rustic woodworking allows you to embrace the beauty of imperfection and create unique and handmade pieces for your home. The charm of natural wood and its unique characteristics add warmth and character to any space. By using basic tools and materials, you can create a variety of rustic projects that enhance your home decor.
Whether you’re building a coffee table, wine rack, beer caddy, wall art, serving tray, coasters, or headboard, the process is similar. It involves choosing the right design, measuring and cutting the wood, assembling the pieces, and adding finishing touches. Each step allows you to customize your project and create something that reflects your personal style.
The satisfaction of creating something with your own hands is unparalleled. Rustic woodworking not only allows you to express your creativity but also encourages you to embrace imperfections. Each knot, crack, and variation in color and grain tells a story and adds to the charm of your handmade piece.
So why not give rustic woodworking a try? Start with a small project and see where your creativity takes you. Embrace the beauty of imperfection and create something truly unique and special for your home.
If you’re a guy who loves working with rustic wood, you’ll definitely want to check out this informative article on custom furniture plans. It’s packed with tidbits and tips to help you create beautiful and unique pieces for your home. Whether you’re a beginner or an experienced woodworker, this article has something for everyone. From power sharpening equipment to step-by-step instructions for building a garden shed, Clever Wood Projects has got you covered. So grab your tools and get ready to embark on your next woodworking adventure! For more details, visit https://cleverwoodprojects.org/tidbits-on-custom-furniture-plans/.
FAQs
What are rustic wood projects?
Rustic wood projects are DIY projects that involve using natural, unfinished wood to create functional or decorative items with a rough, textured appearance.
What are some examples of rustic wood projects for guys?
Examples of rustic wood projects for guys include building a wooden beer caddy, creating a wooden wall-mounted bottle opener, constructing a wooden tool box, and making a wooden picture frame.
What tools are needed for rustic wood projects?
Tools needed for rustic wood projects include a saw, drill, hammer, sandpaper, wood glue, and various types of wood screws and nails.
What types of wood are best for rustic wood projects?
The best types of wood for rustic wood projects are those that have a natural, unfinished appearance, such as pine, cedar, and oak.
Are rustic wood projects difficult to make?
The difficulty level of rustic wood projects varies depending on the project and the individual’s skill level. Some projects may be more challenging than others, but with the right tools and instructions, most people can successfully complete a rustic wood project.
Where can I find instructions for rustic wood projects?
Instructions for rustic wood projects can be found online through various DIY websites and blogs, as well as in woodworking books and magazines. Some hardware stores may also offer classes or workshops on rustic wood projects.


