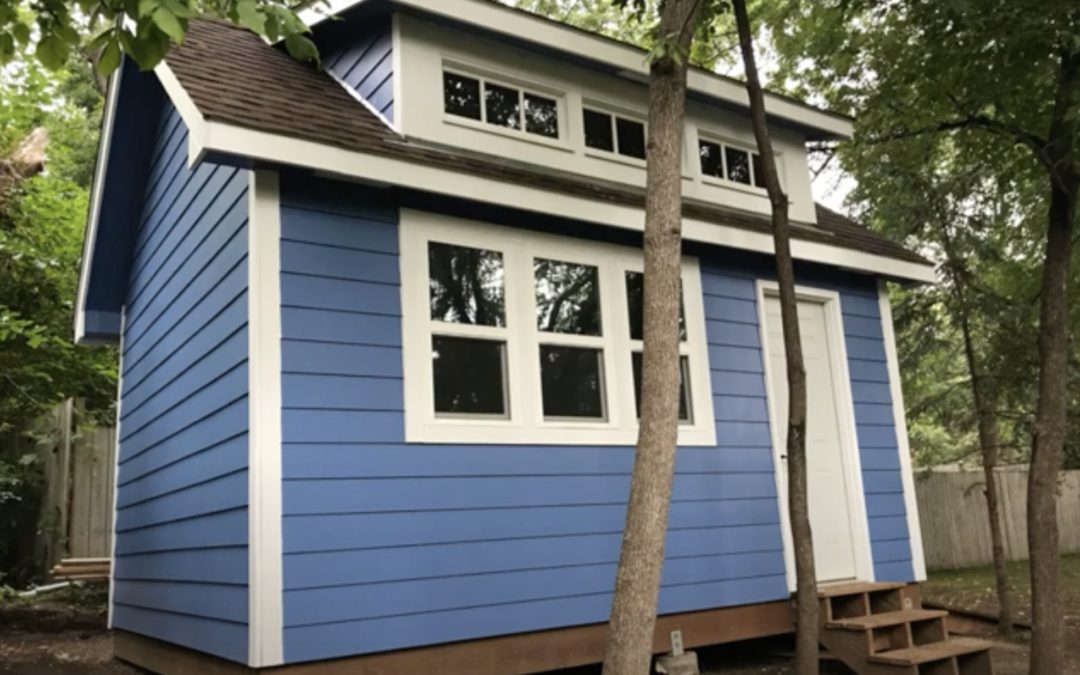
For a homeowner, a nice shed for storage is something that is needed. As well as good quality 12×16 shed plans. Whether you need a place to keep your garden supplies, a place to keep your tools, or just a place to put things that you don’t want cluttering up your home, a shed can be a great addition to your backyard. The right size and style can make the difference between a mediocre storage shed and an awesome one.
1. Building a 12X16 Gable Shed
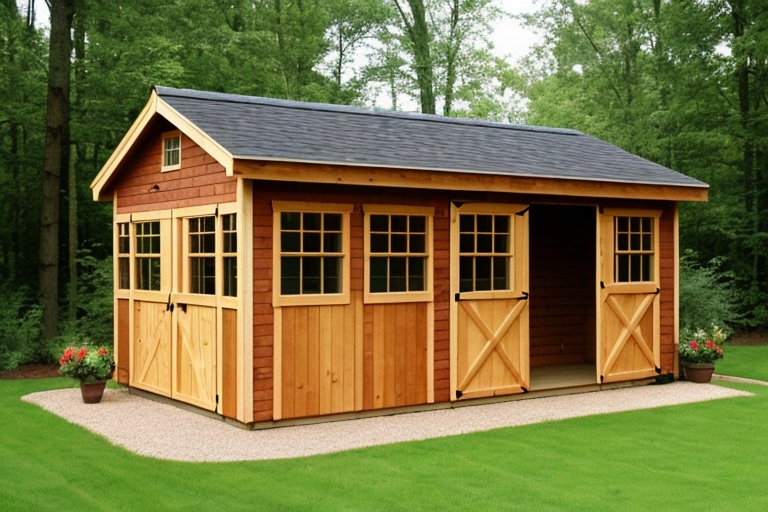
If you’re in need of additional storage space or a garden shed, building a 12X16 Gable Storage Shed is an excellent option. This shed is a popular choice due to its ample room for storage and sturdy construction, capable of withstanding harsh weather conditions such as heavy rain or snow.
The 1216 shed plans should idealy include instructions for building a sturdy gable shed using 26 lumber.
To begin building the 12X16 Gable Storage Shed, you’ll need a set of detailed shed plans. You can either purchase a pre-made plan or download a free PDF version online. Make sure to review the plans thoroughly and gather all necessary materials before starting the project.
Materials List
Here are the materials needed to build a 12X16 Gable Storage Shed:
- 4×4 pressure-treated lumber for the skids
- 2×6 pressure-treated lumber for the floor joists
- 34 plywood for the floor decking
- 2×4 lumber for the wall frames, door headers, and beams
- 1/2 inch plywood for the wall sheathing and roof decking
- Asphalt shingles for the roof
- Windows and a door
Building Process
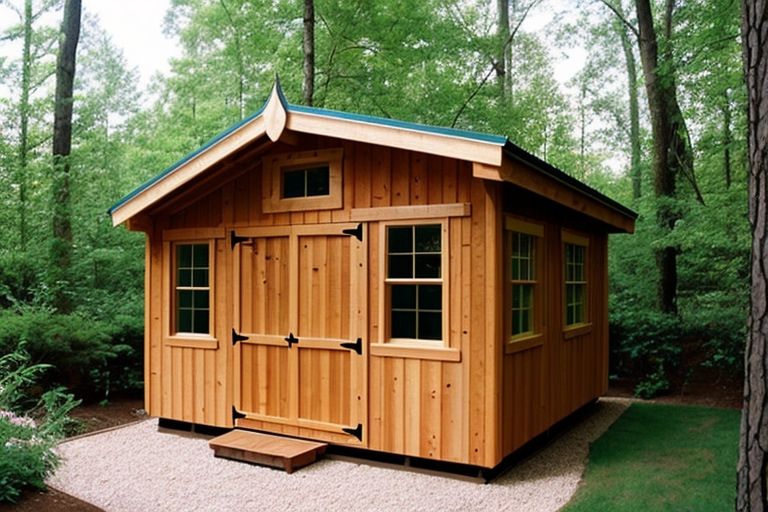
Here are the basic step instructions involved in the shed plan:
- Build the Floor Frame: The first step in building the shed is to create a level surface and assemble the subfloor using 2×6 pressure-treated lumber.
- Lay Out the Wall Frames: Once the floor frame is complete, you can start laying out the wall frames using 2×4 lumber. It’s important to make sure that the sides are square to ensure the structure is sturdy.
- Install the Wall Sheathing: After the wall frames are in place, install 1/2 inch plywood on the walls to provide stability and support.
- Build the Roof Rafters: To construct the roof, build the roof struts using 2×4 lumber. Once the struts are in place, install the roof decking with 1/2 inch plywood.
- Install the Shingles: After the roof decking is installed, you can add the asphalt shingles to the roof.
- Add Windows and a Door: Finally, install windows and a door to complete the structure.
Building a 12X16 Gable Shed requires attention to detail and careful planning. However, with clear instructions and a bit of patience, even DIY beginners can successfully complete the project.
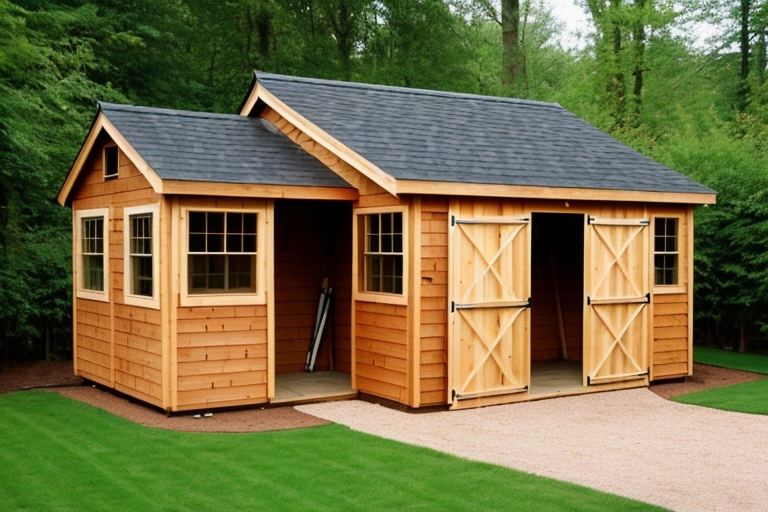
2. Gambrel Roofs 12/16 Shed Plans
Building a 12×16 shed with a gambrel roof requires careful planning and attention to detail. Here are some basic step instructions for building it:
- Determine the size and shape of the house.
- Choose the materials you will use for the roof and walls.
- Use a Gambrel Roof Calculator to determine the proper dimensions and angles.
- Build the trusses and install them on the house.
- Install the roof decking and shingles.
- Build the walls of the house and install the windows and doors.
- Finish the interior of the house.

3. Lean roof for Your 1216 Shed Plan
Building a lean roof for your 12X16 shed is a great way to add functionality and natural light to your warehouse, workshop space, or additional floor space. Here are some tips for building a lean roof on your 12X16 shed:
Material List
- Rafters
- Top plates
- Blockings
- 5/8″ T1 11 siding panels
- 6d nails
- 3 1/2″ screws
- Roofing materials
Building Process
- Start by sizing uniformly the trussers for your roof. They will be used to create the frame for your lean beams.
- Fasten the struts to the top plates on the opposite wall of your shed. This will secure the frame in place.
- Use blockings to help seal your shed. This will prevent air and water from entering through gaps in the frame.
- Attach the front and back overhangs to your frame. These should be 24 inches wide to provide ample protection from the elements.
- Secure the overhangs with 3 1/2″ screws to ensure they are tightly fastened.
- Cut the 5/8″ T1-11 siding panels to size for the front wall of your shed. Make sure they are straight and aligned with the framing.
- Secure the siding panels to the framing with a 6d nail every 8 inches.
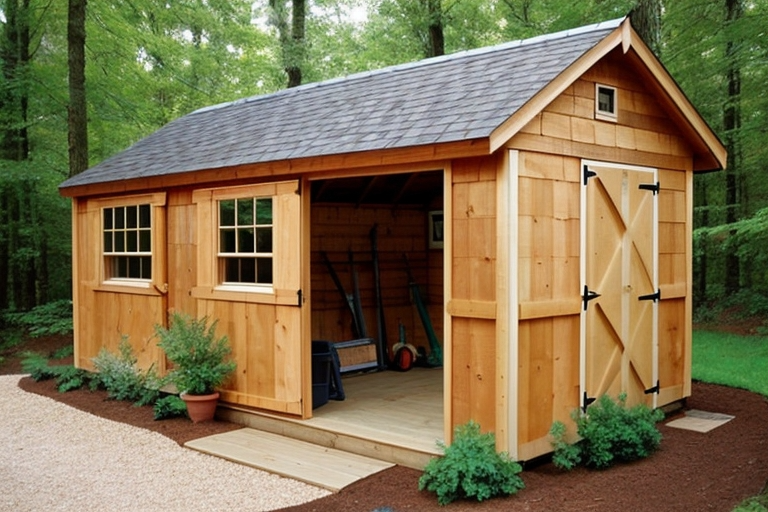
Choosing Roofing Material
When selecting roofing materials for your lean roof, you will want to consider a few factors, including:
- The square foot of your roof
- The weather in your area
- The amount of natural light you want to let in
Some common roofing materials for lean roofs include:
- Asphalt shingles
- Metal roofing
- Polycarbonate panels
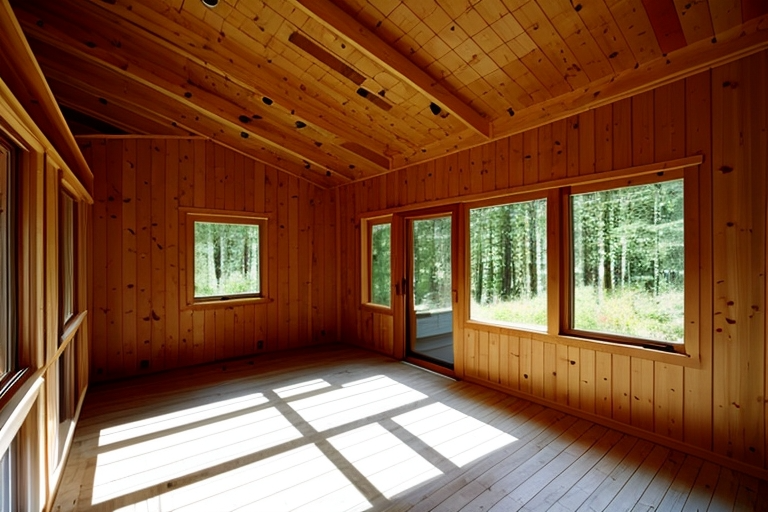
Example Scenario
Let’s say you have a 12X16 garden shed and want to add a lean roof to it. Here’s an example scenario:
- You have a shed plan that includes a lean roof option.
- You purchase 26 lumber to build the frame for the roof.
- You decide to use polycarbonate panels for the roofing material to let in natural light.
- You install a roll-up door on one side of the shed for easy access.
- The total square footage of your lean roof is 192 square feet.
- You live in an area with moderate weather conditions, so polycarbonate panels are a good choice for durability and natural light.
By following these steps and considering the right materials for your shed, you can create a functional and attractive lean roof for your 12X16 shed.
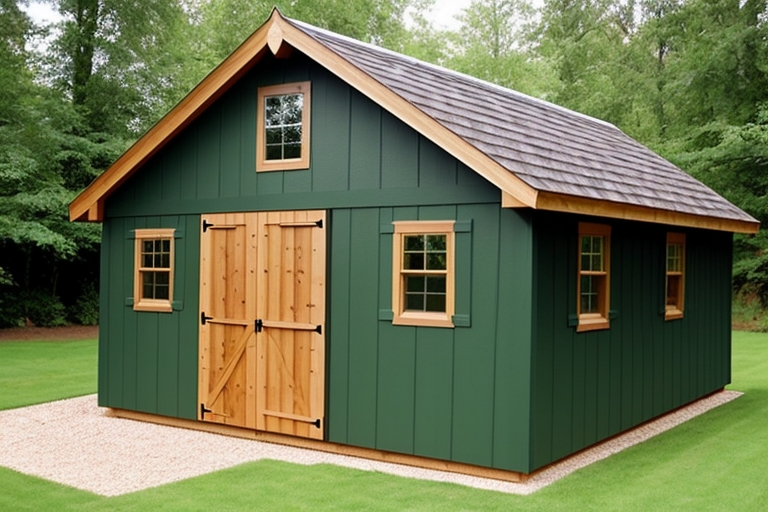
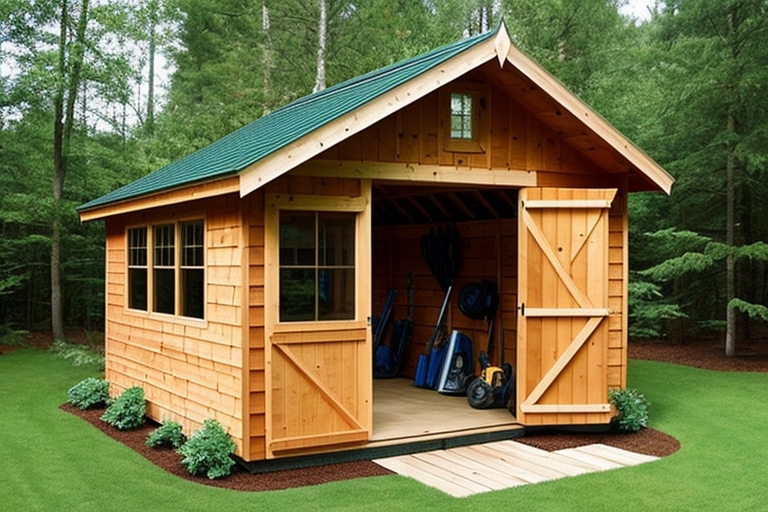
1216 Shed Plans with Double Door
If you’re building a 12X16 shed plan and want to add some style and functionality, installing double front doors is a great way to go. Here are some tips on how to get started:
Building the Frame and Casing
The first step to building double door is to create a frame and casing. You’ll need to measure the size of the opening and use those measurements to create a frame that fits perfectly. Once you have the frame built, you can add the casing around the outside of the frame to give it a finished look.
Installing a Latch
To keep your double front doors closed, you’ll need to install a latch. There are many different types of latches you can choose from, so make sure to pick one that is sturdy and secure.
Determining the Size of Your Doors and Window
The size of your double front doors will depend on the size of your shed and the size of the opening. Make sure to measure everything carefully to ensure a perfect fit. You may also want to consider adding a window to your doors to let in natural light.
Adding Functionality to Your Shed
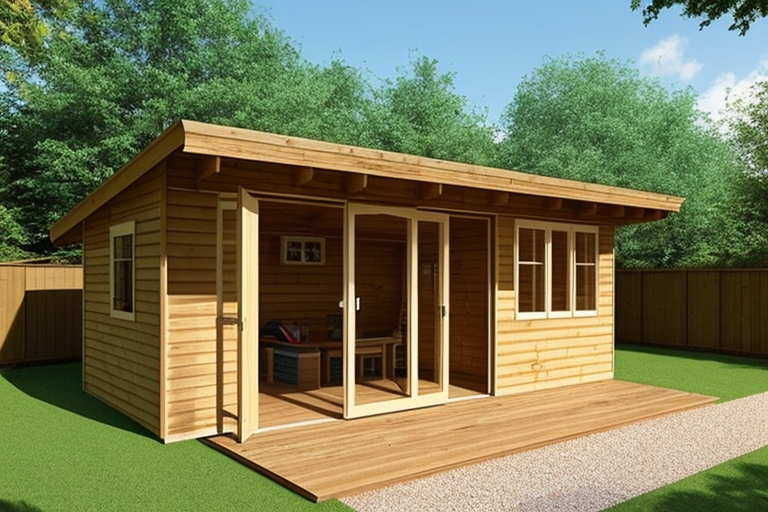
Once you’ve installed your double front doors, you can start thinking about adding some functionality to your shed. Here are some ideas:
- Depot: Add shelves or hooks to store tools, sporting equipment, and other items.
- Large Shed: If you’re building a large shed, consider adding a loft or second level for even more storage space and at least one window.
- Garage Door: If you’re using your shed as a garage or workspace, consider installing a garage door for easy access.
- Materials List: Keep a materials list handy to make sure you have everything you need before starting your project.
- DIY Shed: Building your own shed is a great DIY project, and can save you money compared to buying a pre-built shed.
- Square Footage: Make sure to calculate the floor area of your shed to determine how much roofing covering you’ll need.
- Wall Frame: Building a sturdy wall frame is crucial for the longevity of your shed. Use 2×6 planks for extra strength and keep room for a window.
- 16 Foot: If you’re building a 16 foot shed, you may need to use trusses instead of trussers for the roof.
Real-Life Examples
Here are some real-life examples of sheds with double front doors:
- Garden Shed: A garden shed with double front doors can be used for storing gardening tools, planting supplies, and even as a potting shed.
- Storage Shed: A depot shed with double front doors is perfect for storing items like bicycles, lawn mowers, and other outdoor equipment.
- Workshop: A shed with double front doors can also be used as a workshop, providing plenty of natural light and easy access to tools and materials.
Diy Shed Plan with Single Door
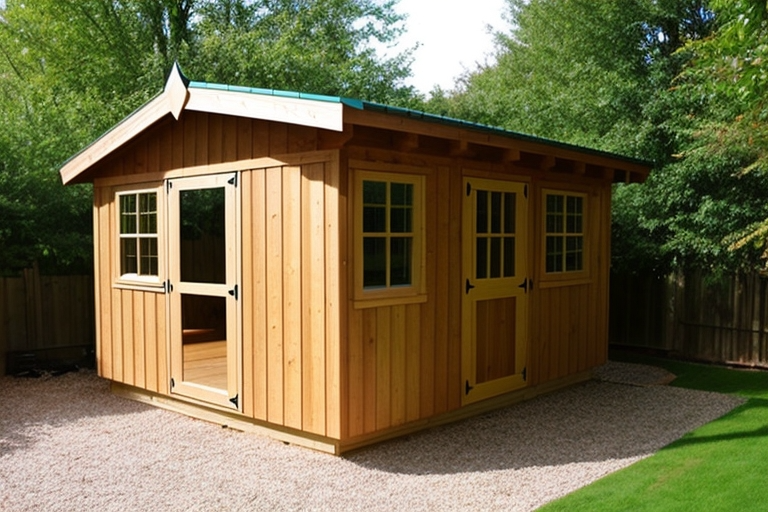
If you’re looking to build a 12X16 shed, it’s important to consider the type of shed door you want to use. Here are some tips for building an individual shed door:
- Review the 1216 shed plan carefully before you start building. The plan should include a material list, diagrams, and instructions for building the door and framing.
- Purchase the door and windows separately. Make sure to measure the opening carefully to ensure the door fits properly.
- Construct a frame for the side wall studs using 2×4 wood. Secure the boards with 3 1/2″ screws.
- Use T1 11 siding or 34 plywood for the exterior of the door. Cut the panels to size according to the plan and attach them to the framing using nails or screws.
- Install the door hardware, including hinges and a latch.
Example: A homeowner wants to build a small depot shed in their backyard using an online shed plan. They decide to use a single door for the front entrance. After reviewing the plans and purchasing the materials, they construct the frame and attach T1-11 siding to the exterior of the door. They install the door hardware and are pleased with the final result.
Loft Area Plan
Adding a loft area to your shed can provide additional square foot and increase the overall floor space of the shed. Here are some tips for building a shed with a loft:
- Determine the size of the loft area based on the items you plan to store in the shed.
- Consider using a gable roof design, which is simple and sturdy.
- Construct the front and back walls using 2×4 logs. Cut the lumber to fit the dimensions of the plans.
- Use a ladder or staircase to access the loft area.
Example: A homeowner wants to build a huge shed for storing gardening tools and equipment. They decide to add a loft area to increase the amount of storeroom. Using shed plans, they construct the front and back wall studs with 2×4 lumber and install a sturdy gable roof. They use a ladder to access the loft area, which provides ample space for storing large items such as a lawnmower and wheelbarrow.