
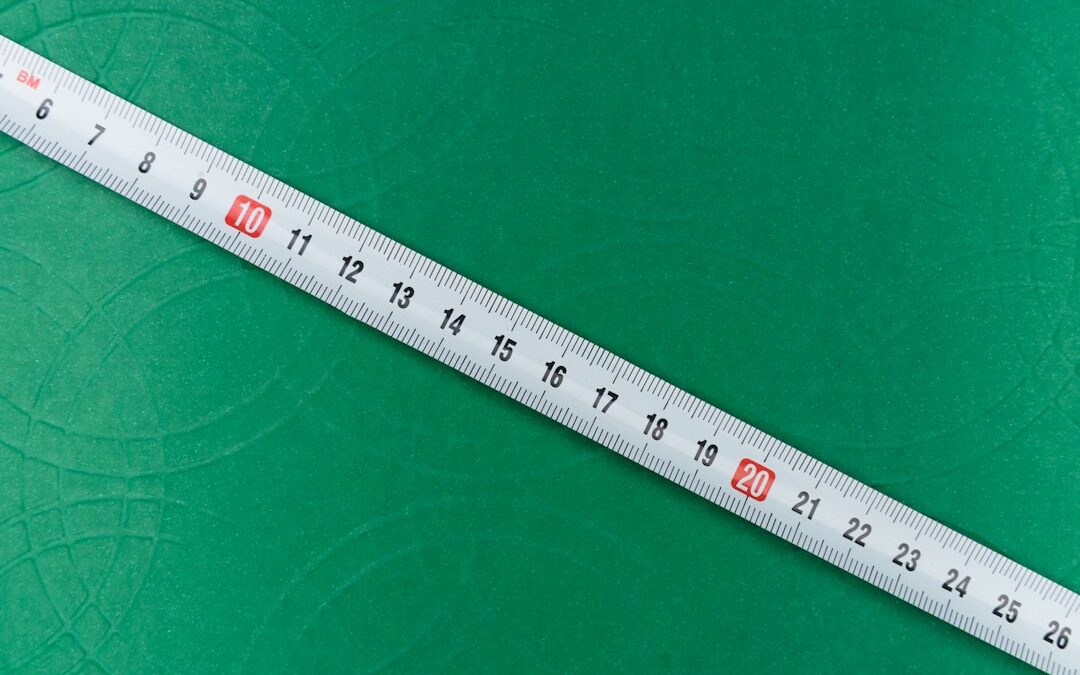
Accurate measuring and marking are essential skills in woodworking. Whether you are building furniture, cabinets, or other wood projects, precision is key to achieving successful results. Measuring and marking accurately ensures that your cuts are straight, angles are precise, and joinery is tight. In this article, we will explore the importance of accurate measuring and marking in woodworking and provide tips and techniques to help you achieve the best results in your projects.
Key Takeaways
- Accurate measuring and marking are crucial for successful woodworking projects.
- Essential tools for measuring and marking include tape measures, rulers, squares, and marking knives.
- Measuring and marking techniques for straight cuts include using a straight edge and marking both sides of the wood.
- Tips for measuring and marking angles include using a protractor and marking the angle on both sides of the wood.
- Precise joinery requires careful measuring and marking, including using a marking gauge and making test cuts.
The Importance of Accurate Measuring and Marking in Woodworking
Accurate measuring and marking are crucial in woodworking for several reasons. First and foremost, precision is necessary to ensure that all the components of your project fit together properly. If your measurements are even slightly off, it can result in gaps, misalignments, or joints that don’t fit snugly. This can compromise the structural integrity of your project and affect its overall appearance.
Inaccurate measuring and marking can also lead to wasted materials. If you cut a piece of wood too short or at the wrong angle, you may need to start over with a new piece, wasting time and money. Additionally, inaccurate measurements can throw off the entire project, requiring adjustments and modifications along the way.
Essential Tools for Measuring and Marking in Wood Projects
To measure and mark accurately in woodworking, you will need a few essential tools:
1. Tape Measure: A tape measure is used to measure lengths and distances accurately. Look for a tape measure with clear markings and a locking mechanism to keep the tape in place.
2. Combination Square: A combination square is a versatile tool that can be used for measuring angles, checking for squareness, and marking straight lines.
3. Marking Gauge: A marking gauge is used to scribe lines parallel to an edge or mark specific measurements on a piece of wood.
4. Carpenter’s Pencil: A carpenter’s pencil is thicker than a regular pencil, making it easier to see and mark on wood surfaces.
5. Chalk Line: A chalk line is used to create straight lines over long distances. It consists of a reel filled with chalk powder and a string that is coated with the chalk. When the string is pulled tight and snapped against the wood, it leaves a straight line of chalk.
Measuring and Marking Techniques for Straight Cuts
When making straight cuts in woodworking, there are several techniques you can use to measure and mark accurately:
1. Measure Twice, Cut Once: This age-old adage holds true in woodworking. Always double-check your measurements before making any cuts to ensure accuracy.
2. Use a Combination Square: A combination square can be used to mark straight lines perpendicular to an edge. Place the square against the edge of the wood and slide it along while marking the line with a pencil.
3. Use a Marking Gauge: A marking gauge can be used to scribe a line parallel to an edge. Set the gauge to the desired measurement, then run the fence along the edge of the wood while pressing down on the marking wheel to create a line.
4. Use a Chalk Line: For long straight cuts, a chalk line can be used to create an accurate guide. Stretch the string tightly across the wood surface, then snap it against the wood to leave a straight line of chalk.
Tips for Measuring and Marking Angles in Woodworking
Measuring and marking angles accurately is crucial in woodworking, especially when creating joinery or angled cuts. Here are some tips to help you measure and mark angles accurately:
1. Use a Protractor: A protractor is a tool specifically designed for measuring angles. Place the protractor on the wood surface and align it with the desired angle. Use a pencil to mark the angle accurately.
2. Create Templates: If you need to replicate the same angle multiple times, create a template out of scrap wood. Use a protractor to measure the desired angle on the template, then transfer it to your workpiece by aligning the template with the edge and marking the angle.
3. Use a Bevel Gauge: A bevel gauge is a tool that can be adjusted to match an existing angle or transfer an angle from one piece of wood to another. Set the bevel gauge to the desired angle, then transfer it to your workpiece by aligning the gauge with the edge and marking the angle.
How to Measure and Mark for Precise Joinery
Precise joinery is essential in woodworking to ensure that pieces fit together tightly and securely. Here’s how you can measure and mark for precise joinery:
1. Use a Marking Gauge: A marking gauge can be used to scribe lines parallel to an edge, which is crucial for creating precise joinery. Set the gauge to the desired measurement, then run the fence along the edge of the wood while pressing down on the marking wheel to create a line.
2. Use a Knife for Accuracy: For even greater precision, use a sharp knife instead of a pencil to mark your lines. A knife creates a more accurate and crisp line, making it easier to align your joinery pieces accurately.
3. Test Fit Before Cutting: Before making any cuts for joinery, it’s essential to test fit your pieces together. This will allow you to make any necessary adjustments or modifications before committing to the final cuts.
Tricks for Measuring and Marking Curves and Arcs in Wood
Measuring and marking curves and arcs accurately can be challenging in woodworking. Here are some tricks and techniques to help you achieve accurate results:
1. Use a Flexible Curve Ruler: A flexible curve ruler is a tool that can be bent into any shape or curve. Place the ruler along the curve you want to replicate, then trace the shape onto your workpiece.
2. Create a Template: If you need to replicate the same curve multiple times, create a template out of scrap wood. Cut the desired curve on the template, then use it as a guide to mark the curve on your workpiece.
3. Divide and Conquer: For complex curves or arcs, divide them into smaller sections and mark each section individually. This will make it easier to achieve accuracy and ensure that the overall curve is smooth and symmetrical.
The Role of Accuracy in Creating Symmetrical Wood Projects
Accuracy plays a crucial role in creating symmetrical wood projects. Whether you are building a table, chair, or any other piece of furniture, symmetry is essential for aesthetic appeal and functionality. Here are some examples of symmetrical wood projects and how accuracy played a role in their creation:
1. Bookshelf: A bookshelf with evenly spaced shelves and symmetrical proportions requires accurate measuring and marking. Each shelf must be the same distance apart, and the overall dimensions must be consistent for a visually pleasing result.
2. Picture Frame: A picture frame with perfectly mitered corners relies on accurate measuring and marking to ensure that all four sides are equal in length and angle. Any discrepancies in measurements can result in misaligned corners or gaps.
3. Cabinet Doors: Cabinet doors with inset panels require precise measurements to ensure that the panel fits snugly within the frame. Inaccurate measurements can result in gaps or panels that are too tight, affecting the functionality and appearance of the doors.
Measuring and Marking for Drilling and Screwing in Woodworking
Measuring and marking accurately is crucial when drilling holes or driving screws in woodworking. Here’s how you can measure and mark for drilling and screwing:
1. Use a Center Punch: Before drilling holes, use a center punch to create a small indentation at the center of your mark. This will prevent the drill bit from wandering and ensure that the hole is drilled in the correct location.
2. Use a Drill Bit Gauge: A drill bit gauge is a tool that can be used to determine the size of a drill bit. Place the gauge over your screw or drill bit to ensure that you are using the correct size.
3. Use a Depth Stop: When drilling holes to a specific depth, use a depth stop on your drill to ensure consistency. Set the depth stop to the desired measurement, then drill until the stop touches the surface of the wood.
How to Avoid Common Measuring and Marking Mistakes in Woodworking
Common mistakes in measuring and marking can lead to inaccurate cuts, misaligned joints, and wasted materials. Here are some tips to help you avoid these mistakes:
1. Double-Check Your Measurements: Always double-check your measurements before making any cuts or marks. It’s better to spend a few extra seconds verifying your measurements than to waste time and materials on inaccurate cuts.
2. Use Sharp Pencils or Knives: Dull pencils or knives can result in imprecise lines. Keep your pencils sharpened and your knives honed for accurate marking.
3. Take Your Time: Rushing through measuring and marking can lead to mistakes. Take your time, be patient, and focus on accuracy rather than speed.
Advanced Measuring and Marking Techniques for Complex Wood Projects
Advanced measuring and marking techniques are often required for complex wood projects that involve intricate joinery or unique shapes. Here are some examples of complex wood projects and how advanced measuring and marking techniques were used:
1. Dovetail Joints: Dovetail joints are known for their strength and aesthetic appeal but require precise measuring and marking. Advanced techniques such as using dovetail markers or creating custom templates can help achieve accurate results.
2. Compound Angles: Compound angles, such as those found in chair legs or table aprons, require precise measuring and marking to ensure that all the pieces fit together properly. Advanced techniques such as using bevel gauges or creating custom jigs can help achieve accurate angles.
3. Curved Surfaces: Creating curved surfaces, such as those found in chair backs or table tops, requires advanced measuring and marking techniques. Using flexible curve rulers, creating templates, and dividing the curve into smaller sections can help achieve accurate results.
Accurate measuring and marking are essential skills in woodworking. Whether you are making straight cuts, measuring angles, creating joinery, or working with curves and arcs, precision is key to achieving successful results. By using the right tools, following proper techniques, and taking your time, you can ensure that your wood projects are accurate, functional, and visually appealing. So next time you embark on a woodworking project, remember the importance of accurate measuring and marking and apply the tips and techniques discussed in this article for the best results.
If you’re interested in honing your woodworking skills, you may also find our article on small workbench ideas helpful. A sturdy and well-designed workbench is essential for accurate measuring and marking in wood projects. Check out our small workbench ideas article for some practical tips and inspiration. Additionally, if you have kids who are eager to learn woodworking, our article on woodworking kits for kids is a great resource to explore. It provides information on age-appropriate tools and projects that can help children develop their measuring and marking skills. For those just starting out in woodworking, our article on wooden sheds for beginners offers valuable insights into the importance of precise measurements and markings when constructing a shed.
FAQs
What are the fundamental techniques for accurate measuring and marking in wood projects?
The fundamental techniques for accurate measuring and marking in wood projects include using a tape measure, combination square, marking gauge, and marking knife.
Why is accurate measuring and marking important in wood projects?
Accurate measuring and marking is important in wood projects because it ensures that the pieces fit together properly and the finished product looks professional.
What is a tape measure?
A tape measure is a flexible ruler used to measure length and distance.
What is a combination square?
A combination square is a tool used for measuring and marking angles, as well as checking the flatness of surfaces.
What is a marking gauge?
A marking gauge is a tool used to mark a consistent distance from the edge of a piece of wood.
What is a marking knife?
A marking knife is a tool used to make precise marks on wood, such as marking the location for a cut or joint.


